Whether you’re running a business, managing your finances, or looking to keep better records of your income and expenses, understanding how to create a balance sheet is crucial. A balance sheet gives you a snapshot of your financial position at a specific point in time, showing what you own, what you owe, and the net worth or equity of your business.
In this blog, we’ll break down the essentials of a balance sheet, walk you through a sample balance sheet, and provide you with a balance sheet template that you can use for your own business. Additionally, we’ll cover how using a paystub generator can help you keep track of your income, especially if you’re managing payroll for your employees.
What is a Balance Sheet?
A balance sheet is one of the primary financial statements used by businesses to summarize their financial health. It presents three main components:
- Assets: Everything the business owns, such as cash, inventory, property, and equipment.
- Liabilities: Everything the business owes, including loans, credit, and other obligations.
- Equity: The value remaining after liabilities are subtracted from assets. This is the owner’s stake in the business.
The balance sheet follows this formula:
Assets = Liabilities + Equity
This formula ensures that the balance sheet remains balanced, hence the name.
Why Is a Balance Sheet Important?
A balance sheet is a critical tool for business owners, investors, and financial institutions. Here’s why it’s essential:
- Provides a Clear Picture of Financial Health: It shows how much a business owns and owes, offering insight into its financial stability.
- Helps with Financial Planning: It allows business owners to make informed decisions about investments, expenses, and future growth.
- Supports Loan Applications: Financial institutions often require a balance sheet to assess the risk of lending to a business.
- Aids in Tax Filing: A balance sheet simplifies tax reporting by providing a detailed breakdown of assets and liabilities.
For those managing personal finances or small businesses, creating a balance sheet helps you stay on top of your financial situation and avoid debt.
Components of a Balance Sheet
Before diving into a balance sheet template, it’s essential to understand the core components that make up this financial document. Here’s a closer look at the elements:
1. Assets
Assets are what your business owns and can be classified into two categories:
- Current Assets: These are assets that can be converted into cash within a year. They include cash, accounts receivable (money owed by customers), inventory, and short-term investments.
- Non-Current Assets: These are long-term assets that won’t be converted into cash within a year. Examples include property, equipment, long-term investments, and intangible assets like patents or trademarks.
2. Liabilities
Liabilities represent what your business owes to others. Like assets, liabilities are categorized into:
- Current Liabilities: Obligations that are due within a year, such as accounts payable (money owed to suppliers), short-term loans, and accrued expenses.
- Non-Current Liabilities: Long-term obligations due beyond a year, including mortgages, bonds, and long-term loans.
3. Equity
Equity is the value left over after liabilities are deducted from assets. This section typically includes:
- Owner’s Equity: The owner’s investment in the business.
- Retained Earnings: Profits that the business has kept over time instead of distributing them to shareholders.
Sample Balance Sheet
To help you better understand what a balance sheet looks like, here’s a simple sample balance sheet for a small business:
| Sample Balance Sheet | As of December 31, 2023 |
| Assets | |
| Current Assets | |
| Cash | $20,000 |
| Accounts Receivable | $15,000 |
| Inventory | $10,000 |
| Total Current Assets | $45,000 |
| Non-Current Assets | |
| Property & Equipment | $100,000 |
| Long-term Investments | $30,000 |
| Total Non-Current Assets | $130,000 |
| Total Assets | $175,000 |
| Liabilities | |
| Current Liabilities | |
| Accounts Payable | $8,000 |
| Short-term Loans | $12,000 |
| Total Current Liabilities | $20,000 |
| Non-Current Liabilities | |
| Long-term Loans | $50,000 |
| Total Non-Current Liabilities | $50,000 |
| Total Liabilities | $70,000 |
| Equity | |
| Owner’s Equity | $85,000 |
| Retained Earnings | $20,000 |
| Total Equity | $105,000 |
| Total Liabilities + Equity | $175,000 |
As you can see, this balance sheet balances out perfectly with total assets equaling total liabilities plus equity.
Balance Sheet Template
Now that you’ve seen a sample balance sheet, you can create your own using the following balance sheet template. This template is simple yet comprehensive enough to track your business’s financial health.
| Balance Sheet Template | Date |
| Assets | |
| Current Assets | |
| Cash | $ |
| Accounts Receivable | $ |
| Inventory | $ |
| Total Current Assets | $ |
| Non-Current Assets | |
| Property & Equipment | $ |
| Long-term Investments | $ |
| Total Non-Current Assets | $ |
| Total Assets | $ |
| Liabilities | |
| Current Liabilities | |
| Accounts Payable | $ |
| Short-term Loans | $ |
| Total Current Liabilities | $ |
| Non-Current Liabilities | |
| Long-term Loans | $ |
| Total Non-Current Liabilities | $ |
| Total Liabilities | $ |
| Equity | |
| Owner’s Equity | $ |
| Retained Earnings | $ |
| Total Equity | $ |
| Total Liabilities + Equity | $ |
The Role of a Paystub Generator in Managing Your Finances
While a balance sheet provides a summary of your financial position, a paystub generator can help you manage your payroll and track income more effectively. This is especially useful for small business owners, freelancers, and independent contractors who need to keep accurate records of their earnings and deductions.
A paystub generator can:
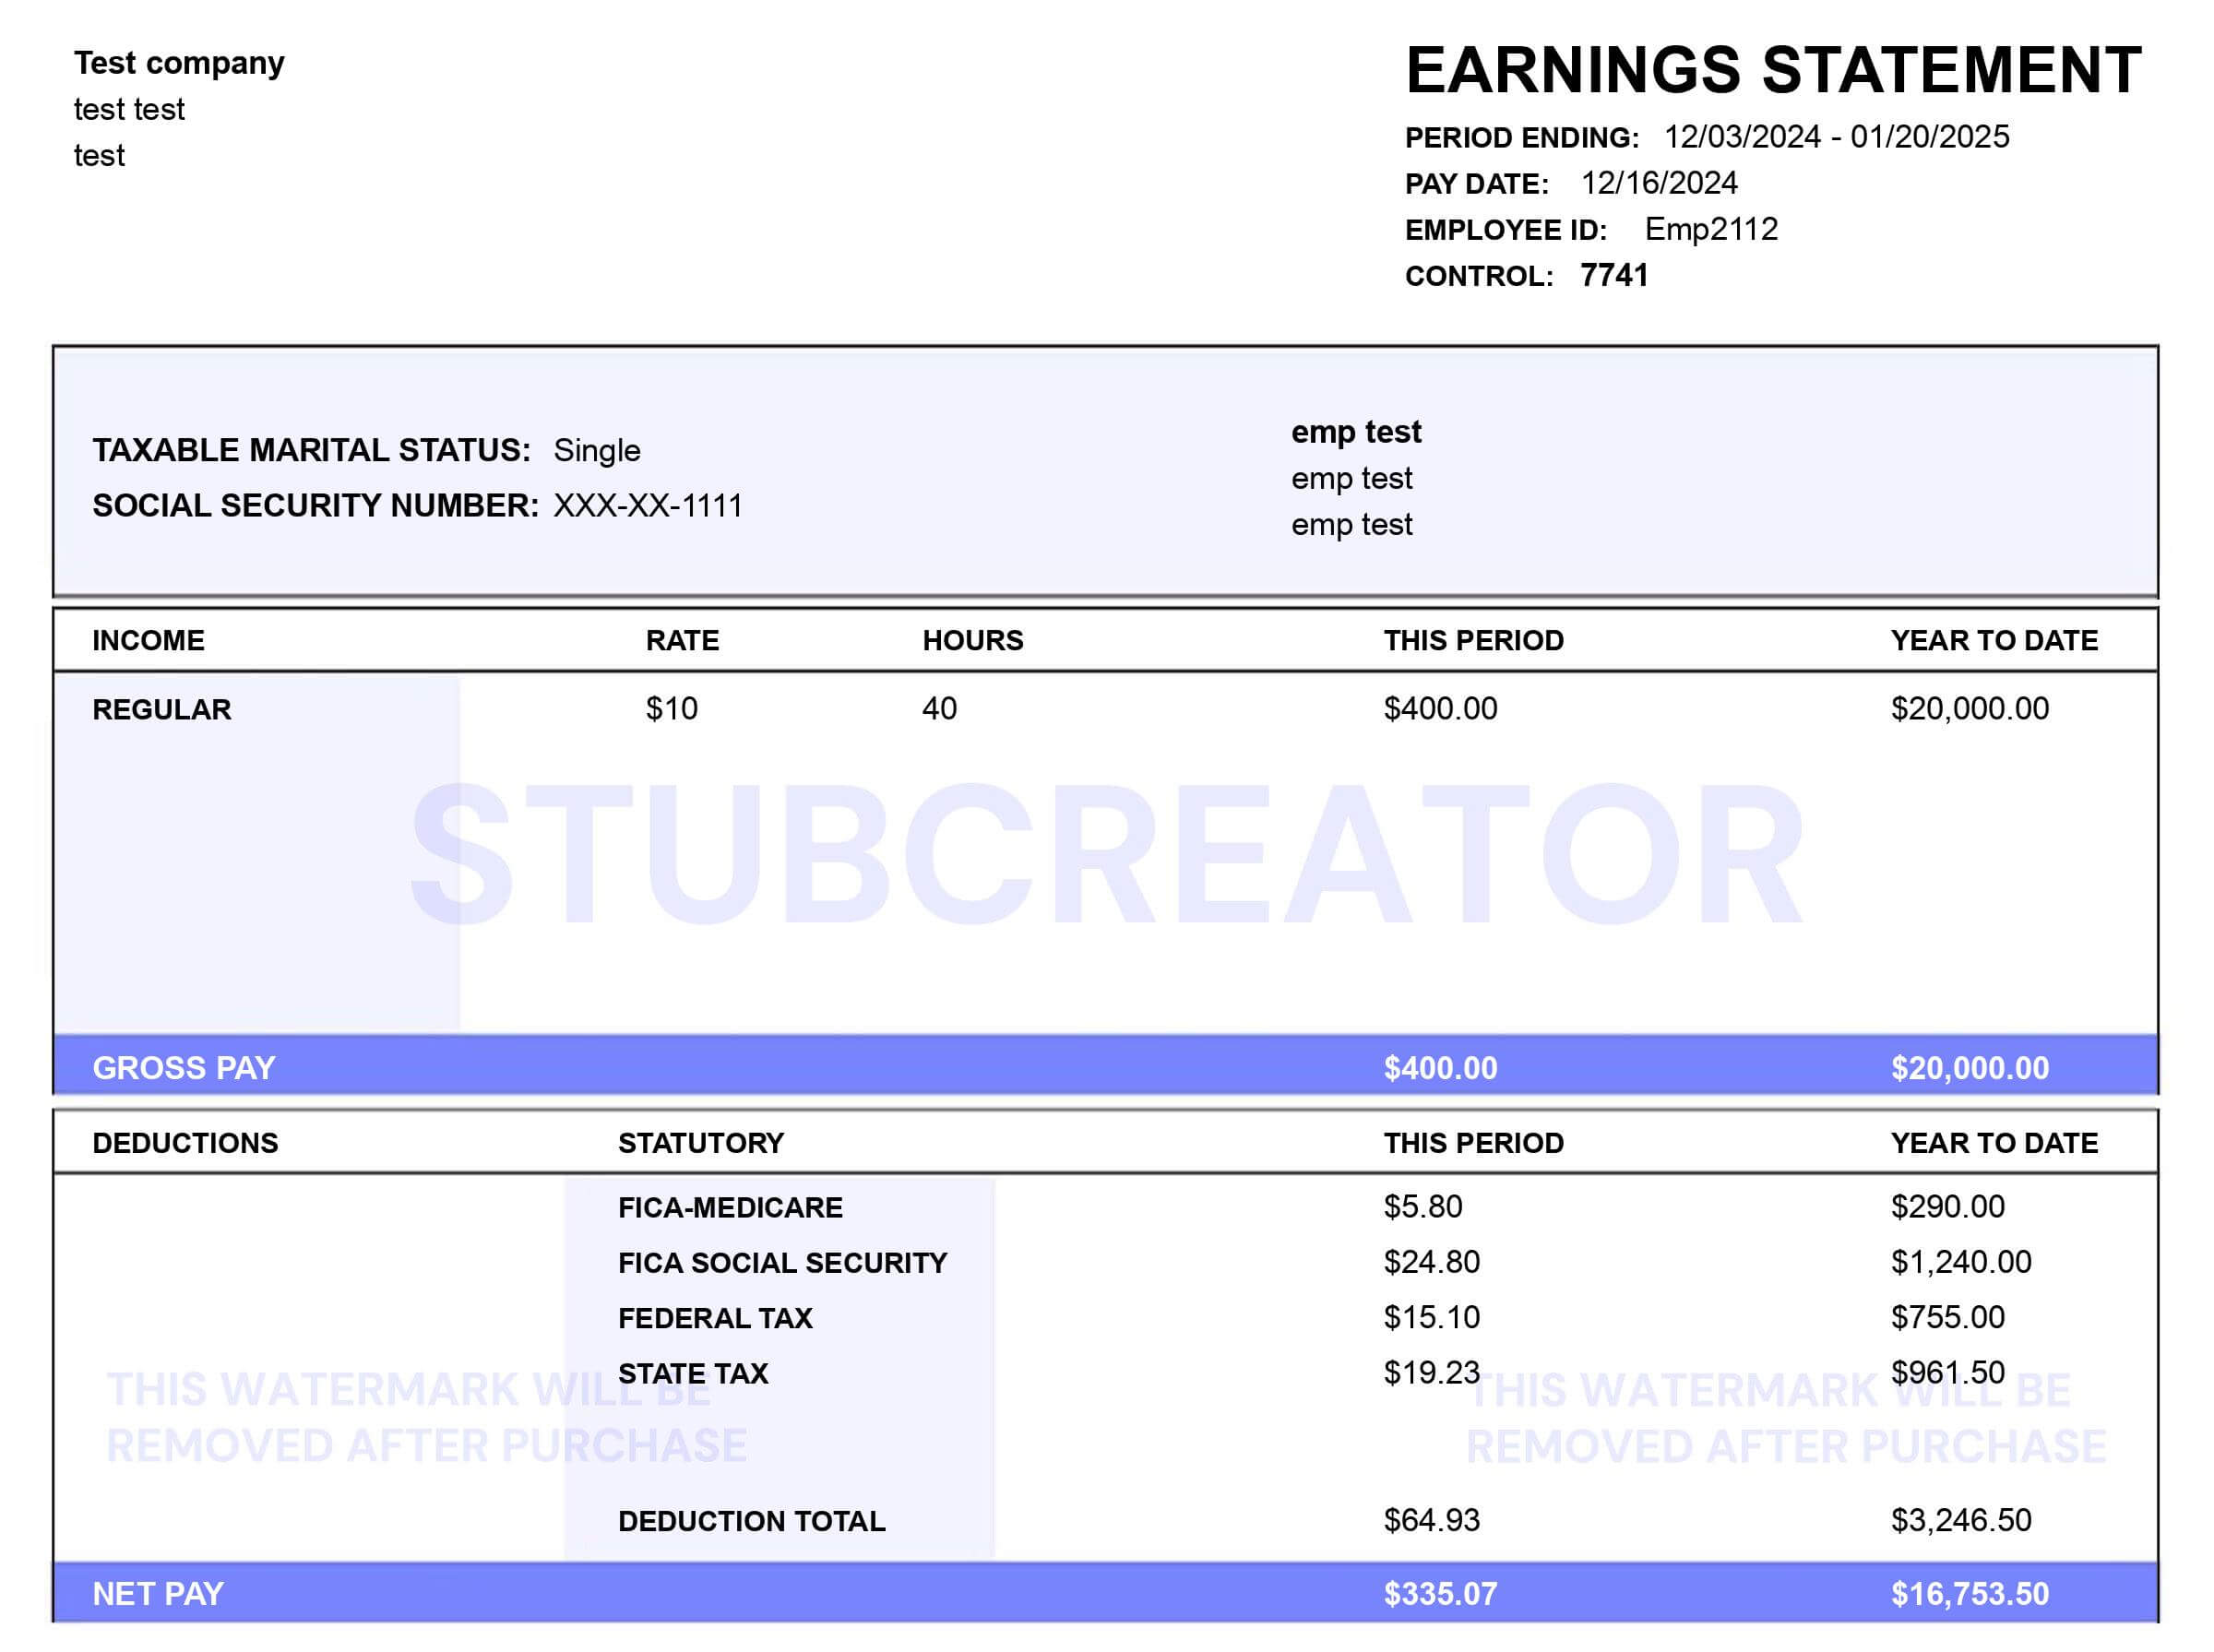
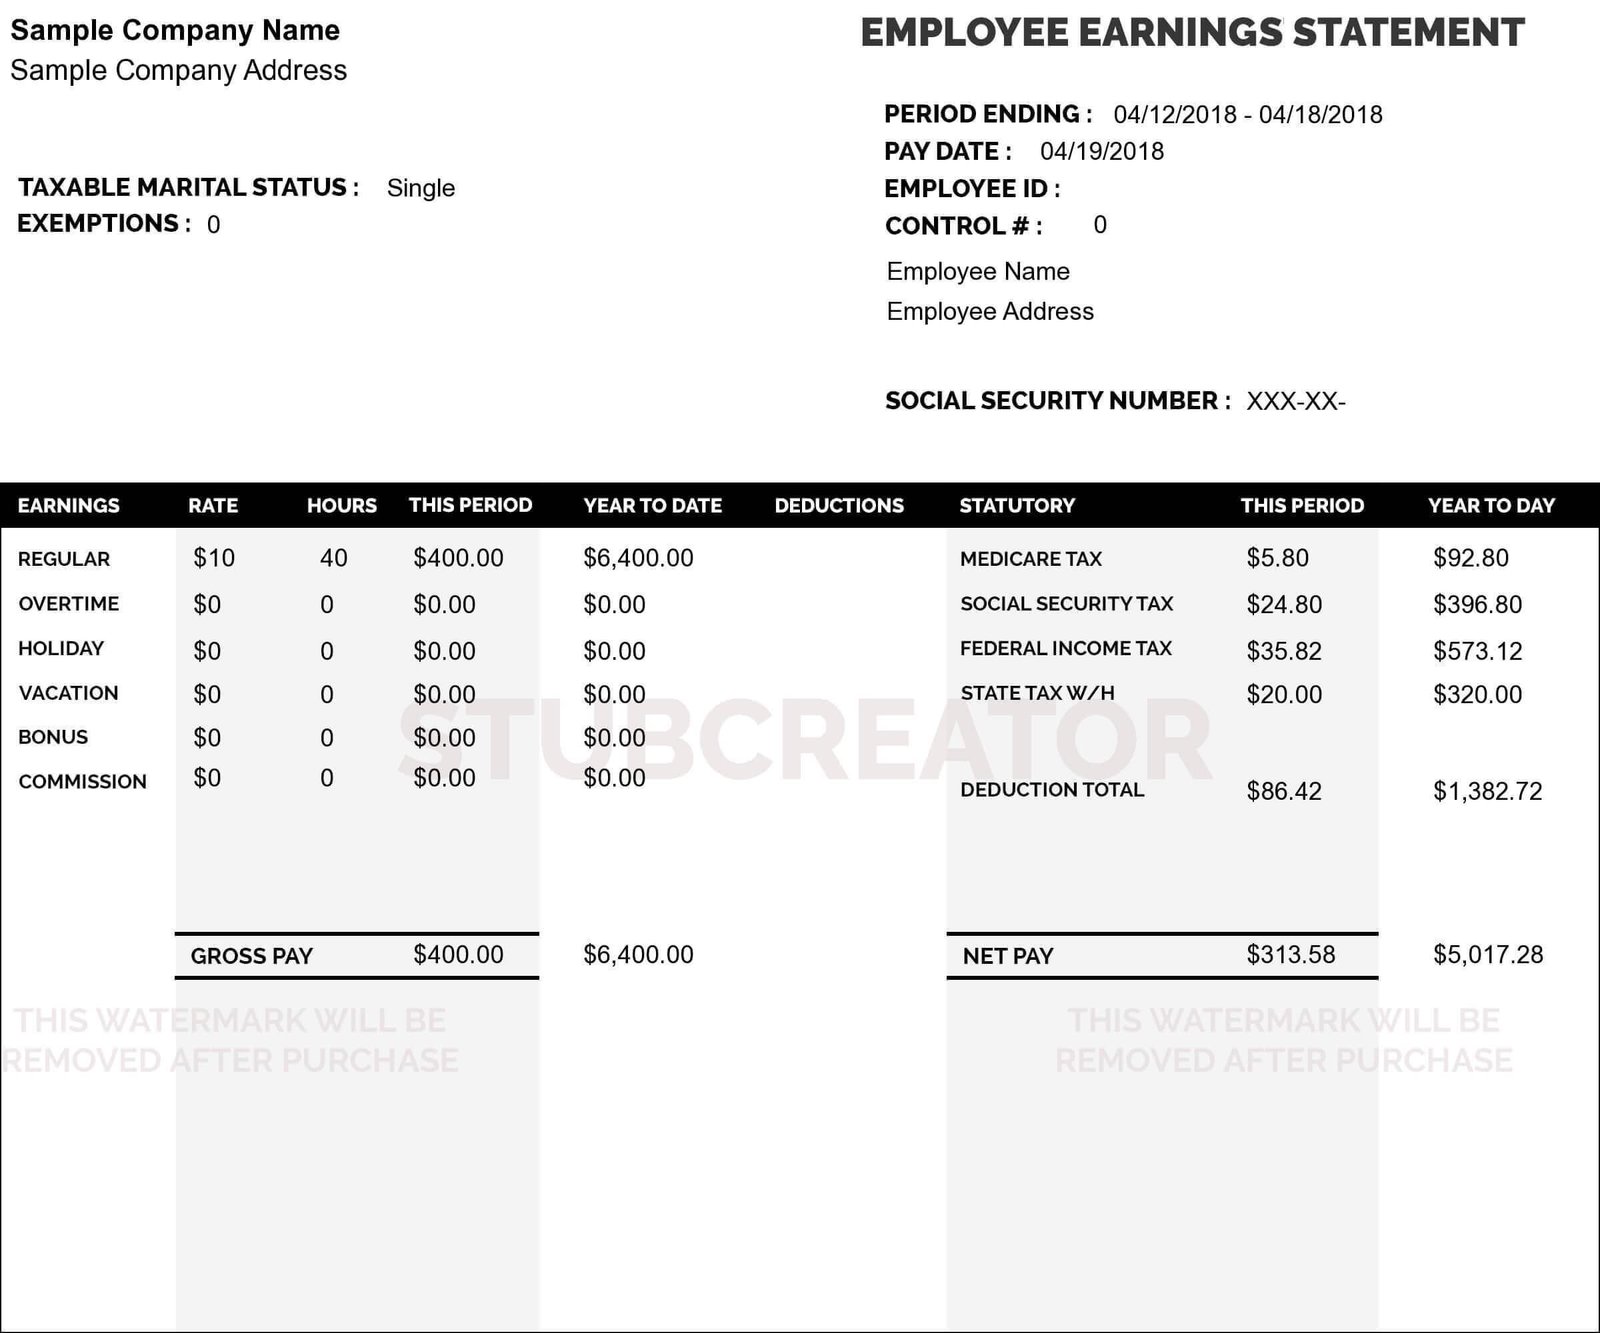
- Create Detailed Pay Stubs: You can generate professional pay stubs for your employees or yourself, which include essential details like gross income, tax withholdings, and net income.
- Ensure Compliance: Pay stubs are often required by law in many states. By using a paystub generator, you can comply with local regulations and provide your employees with the necessary documentation.
- Track Year-to-Date Earnings: Pay stubs show cumulative earnings, taxes paid, and other deductions throughout the year, making it easier to file taxes or apply for loans.
- Customize for Freelancers: If you’re a freelancer or self-employed, a paystub generator can help you create proof of income for clients, lenders, or even tax authorities.
Many online paystub generators are free and easy to use, allowing you to input your earnings and deductions quickly and generate a pay stub that meets your needs. It’s a handy tool for anyone looking to stay on top of their financial documentation.
Frequently Asked Questions
1. How Often Should I Create a Balance Sheet?
It’s recommended to create a balance sheet at least once a quarter to monitor your business’s financial health. However, some businesses create balance sheets monthly to keep a closer eye on cash flow, assets, and liabilities.
2. Can I Use a Paystub Generator for Personal Income?
Yes, a paystub generator can be used by anyone who needs to create a detailed record of their income, whether you’re an employee, freelancer, or small business owner.
3. Is There a Free Balance Sheet Template Available?
Yes, the template provided in this blog is a basic balance sheet template that you can use for free. You can also find customizable templates online that cater to different industries and business types.
Conclusion
A balance sheet is an essential tool for any business owner or individual looking to manage their finances effectively. It provides a clear picture of your financial standing and helps you make informed decisions about your business or personal finances. By using the sample balance sheet and template provided in this blog, you can easily create your own balance sheet to track your assets, liabilities, and equity.
Additionally, incorporating a paystub generator into your financial routine will help you stay organized and compliant, ensuring you have accurate records of your income and deductions. Whether you’re managing payroll for employees or tracking your own earnings as a freelancer, these tools will set you up for financial success.
Remember, keeping good financial records isn’t just about meeting tax obligations—it’s about ensuring your long-term financial stability and growth.